Manage Token Assets
Estimated time to read: 4 minutes
Learn to use the Arcana wallet UI to manage your token assets.
Prerequisites
- Log in to the app integrated with the Arcana Auth SDK to access the Arcana wallet UI and manage NFT assets.
Token Operations
Arcana wallet supports the following Web3 token operations for both native as well as custom ERC-20 tokens:
- Check balance
- Add custom tokens
- Send and receive native and custom tokens
- View Token Transactions
Check Balance
Click the ![]()
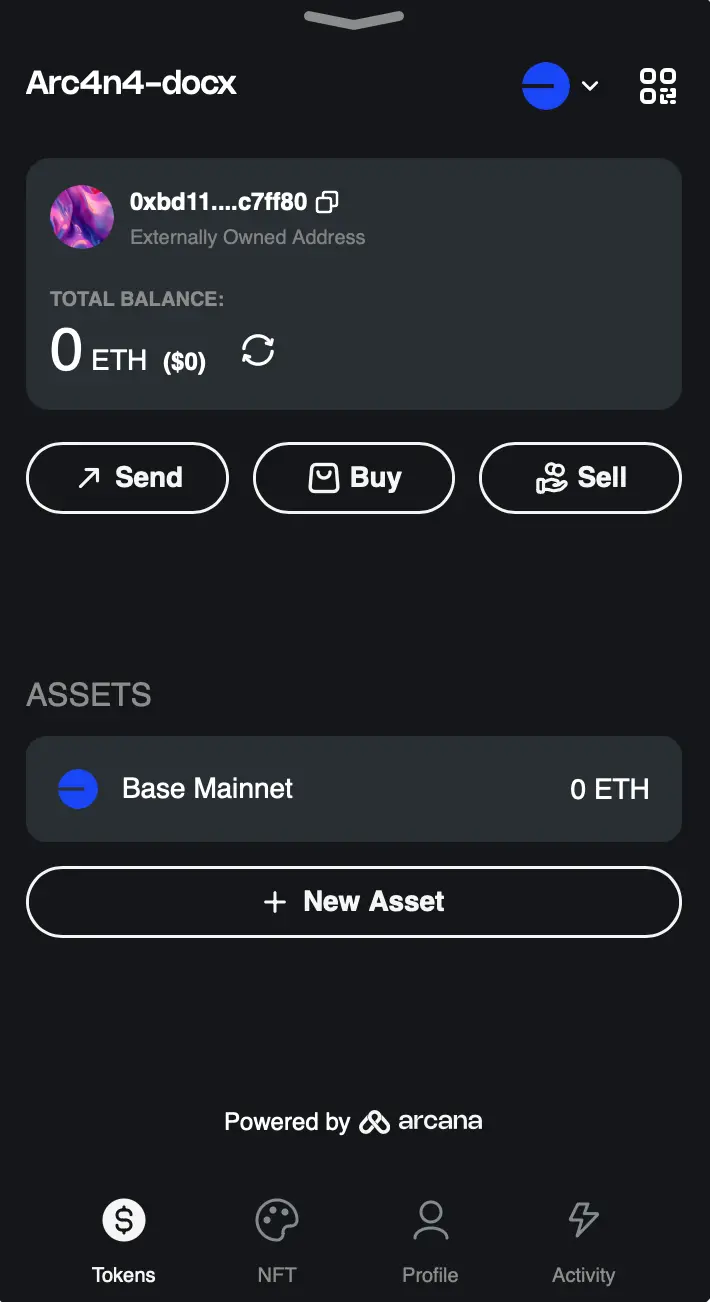
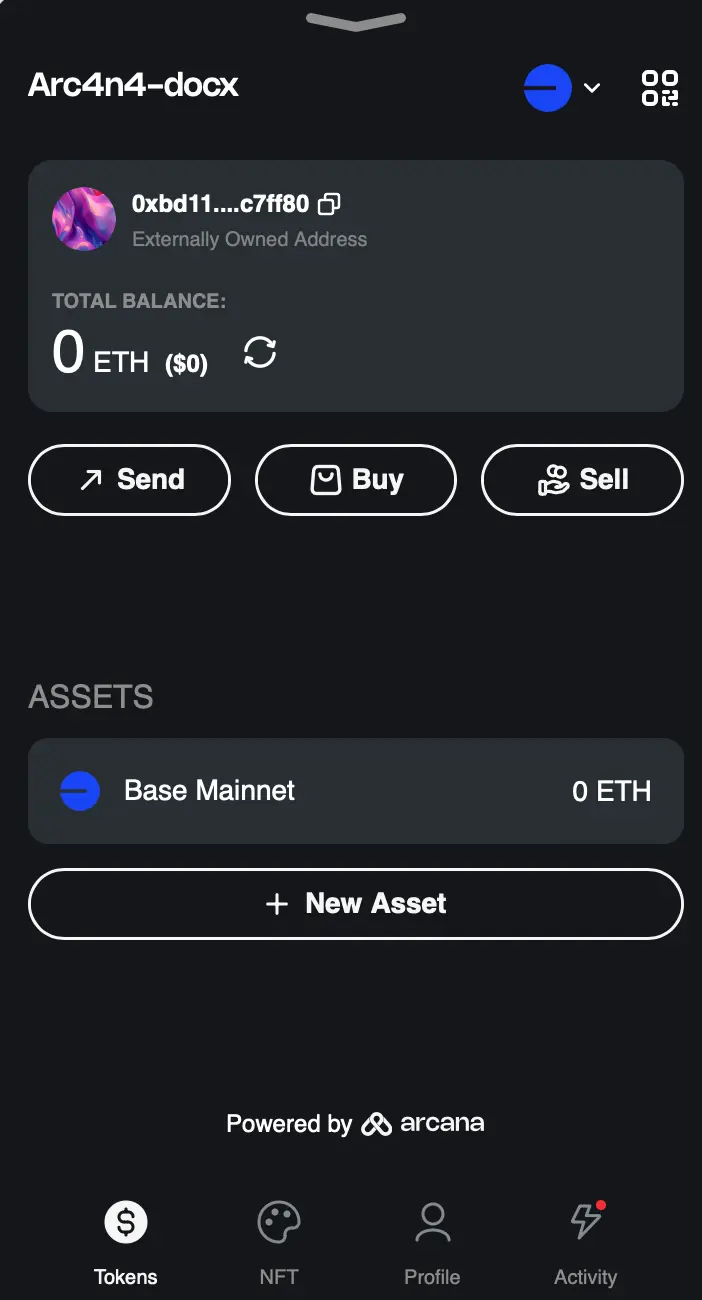
![]() 'Tokens' tab at the bottom left of the Arcana wallet UI. The account balance is displayed for the native tokens of the current active blockchain network. It also shows a list of custom token assets associated with the wallet account for the active blockchain network and the respective balance amounts.
'Tokens' tab at the bottom left of the Arcana wallet UI. The account balance is displayed for the native tokens of the current active blockchain network. It also shows a list of custom token assets associated with the wallet account for the active blockchain network and the respective balance amounts.
Click Refresh to fetch the latest account balance.
Add Custom Tokens
Click the ![]()
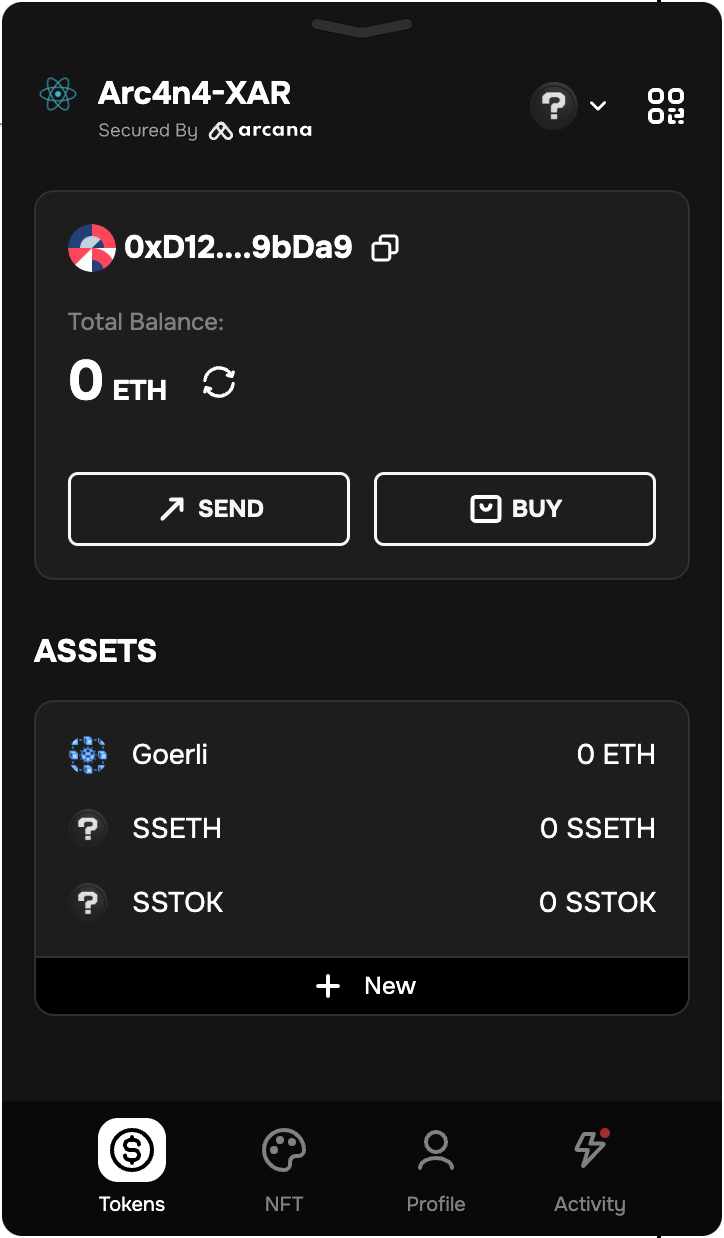
![]() 'Tokens' tab to view the list of tokens associated with the wallet account.
'Tokens' tab to view the list of tokens associated with the wallet account.
If you do not see your custom token already listed in the token asset list, click the ![]() icon to add your custom token.
icon to add your custom token.
Add the Token Contract Address in the pop-up UI.
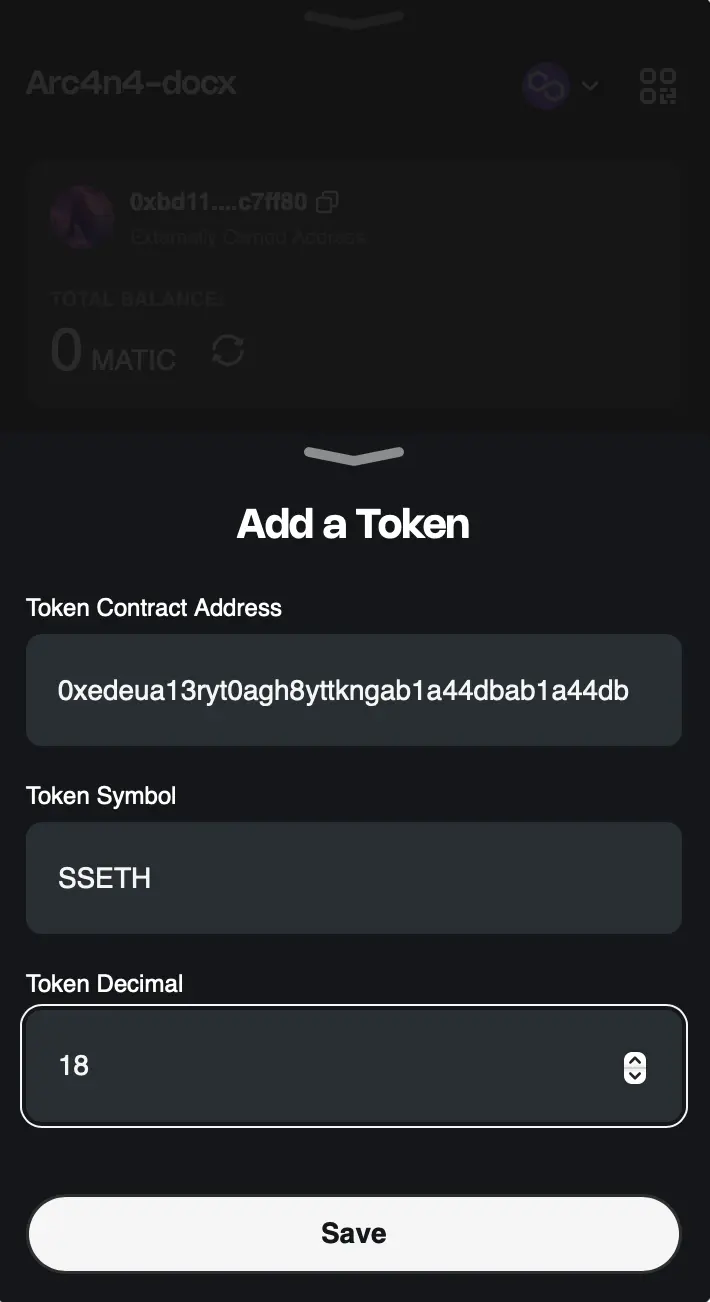
Once you add the address, the Arcana wallet validates whether it is an ERC-20 standard custom token. After the contract is verified, the wallet automatically fetches the Token Symbol and the Token Decimal values as configured in the custom contract.
Click Save to add the custom token. The newly added custom token will show up under the account balance section on the wallet.
Select Token
Before sending tokens, users can specify whether they intend to transfer native or custom tokens. To select a custom token, it should already be added to the Arcana wallet.
Click the ![]()
![]() 'Tokens' tab to view the native and custom tokens screen.
'Tokens' tab to view the native and custom tokens screen.
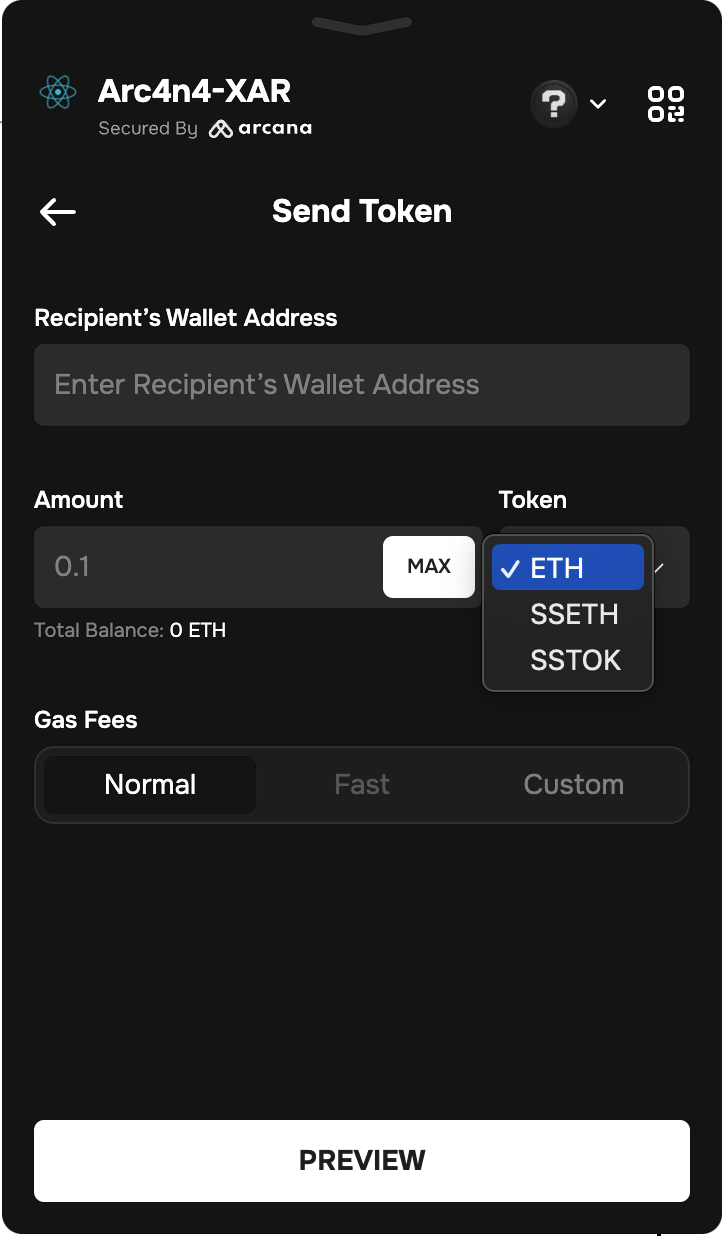
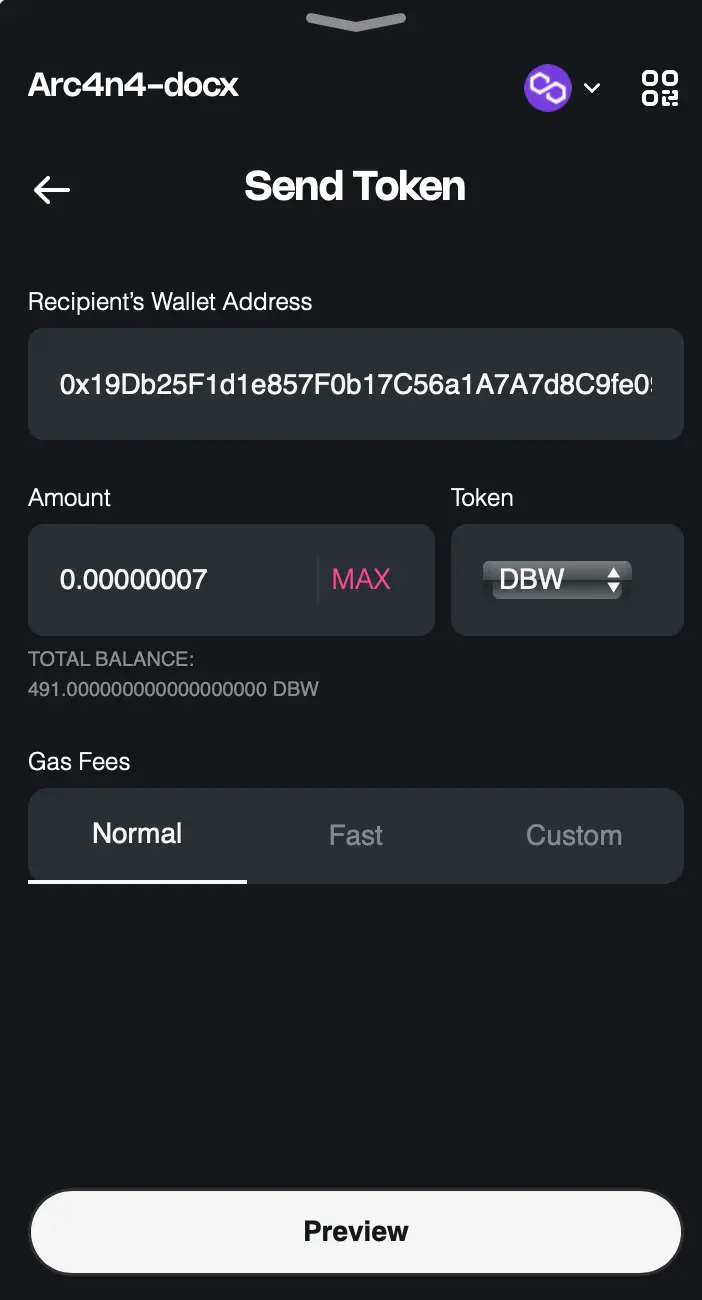
Use the drop-down list by clicking on the arrow next to the native token symbol and choose one of the custom tokens that are already added to the Arcana wallet.
Send Tokens
Click ![]()
![]() the 'Tokens' tab in the wallet to view the tokens associated with the wallet account.
the 'Tokens' tab in the wallet to view the tokens associated with the wallet account.
Click Send to initiate the send tokens workflow in the Arcana wallet by bringing up the following screen:
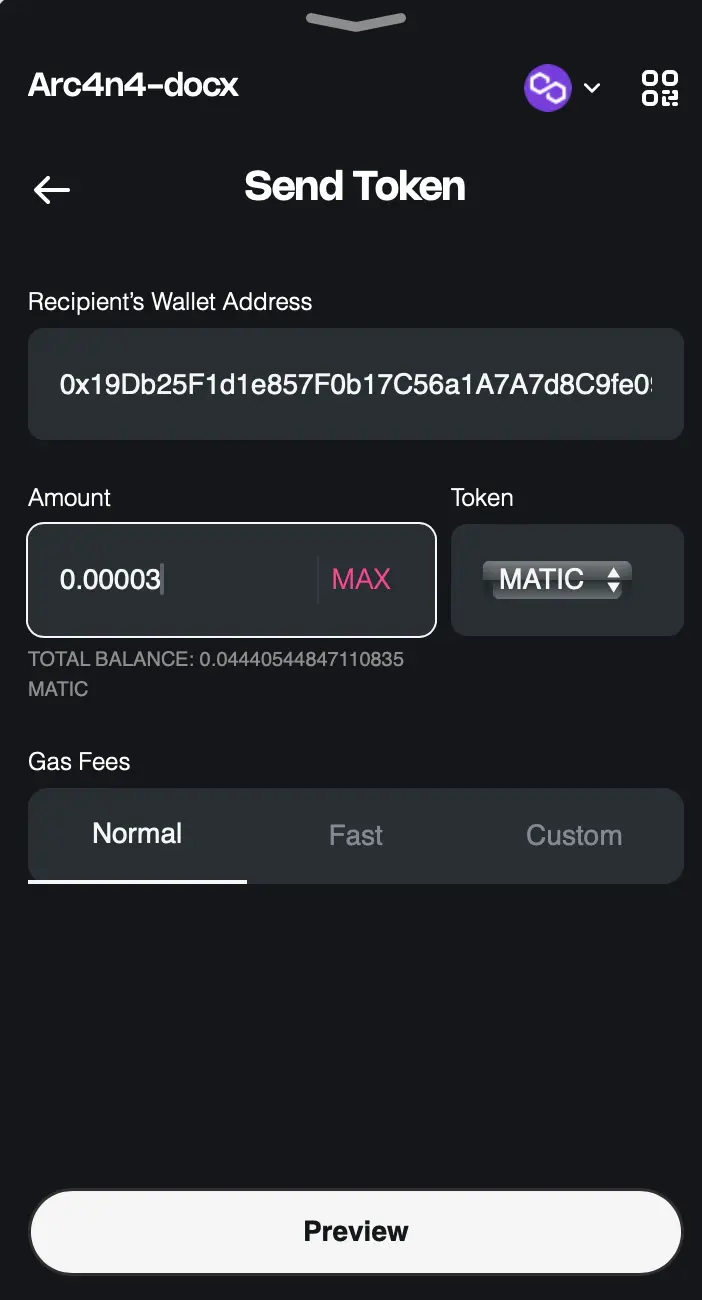
Choose the appropriate token that you wish to send from the dropdown list, enter the transfer amount, and gas fees, and click Proceed. A preview screen shows the details of the send transaction. Click Send to confirm or click Back if you wish to change any transaction details.
Receive Tokens
Click the ![]()
![]() 'Tokens' tab at the bottom left of the wallet to receive tokens from another wallet address. Click the QR icon
'Tokens' tab at the bottom left of the wallet to receive tokens from another wallet address. Click the QR icon ![]()
![]() on the top right of the wallet and copy the QR code or the wallet address. Share it with the sender to receive tokens in your account.
on the top right of the wallet and copy the QR code or the wallet address. Share it with the sender to receive tokens in your account.
 <
<
Click Refresh to see the updated account balance after the sender transaction is complete.
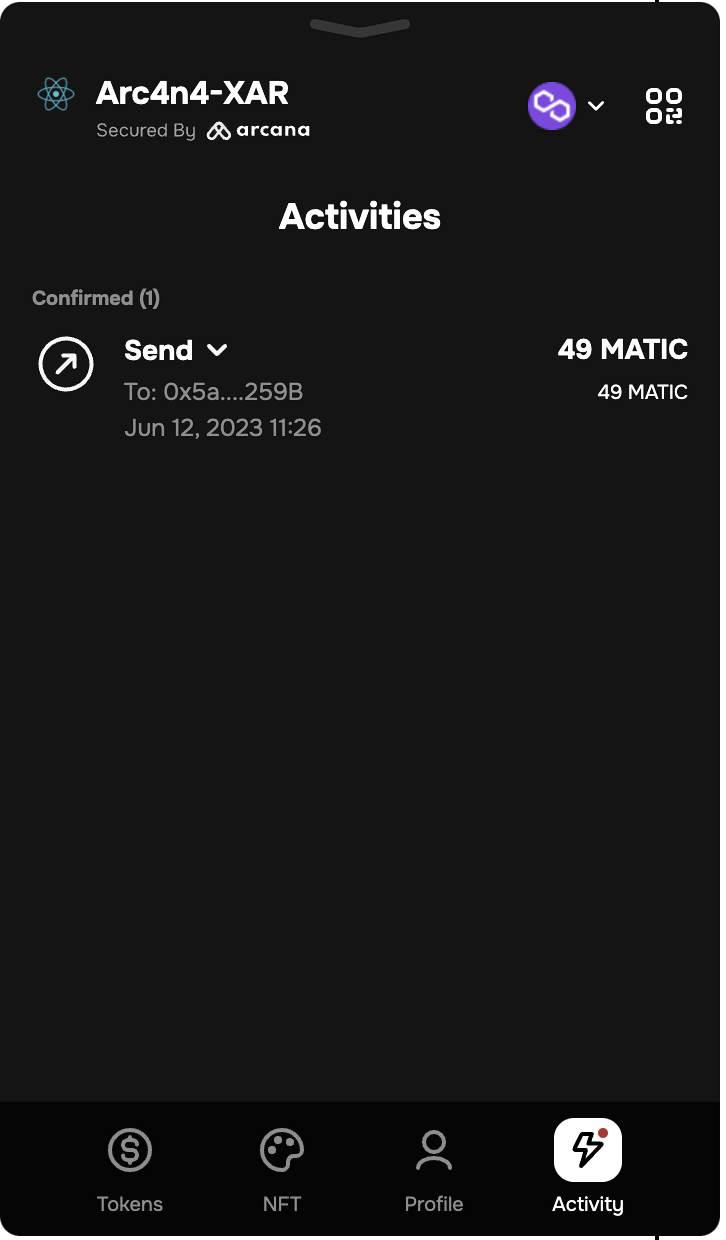
View Token Activity
Click the ![]()
![]() 'Activity' tab on the bottom right of the Arcana wallet to see wallet transaction activity and pending request notifications.
'Activity' tab on the bottom right of the Arcana wallet to see wallet transaction activity and pending request notifications.
You can see the token 'Send' transactions carried out by the wallet address. Only the activity for the current user login session is displayed. Click on an entry to view activity details.
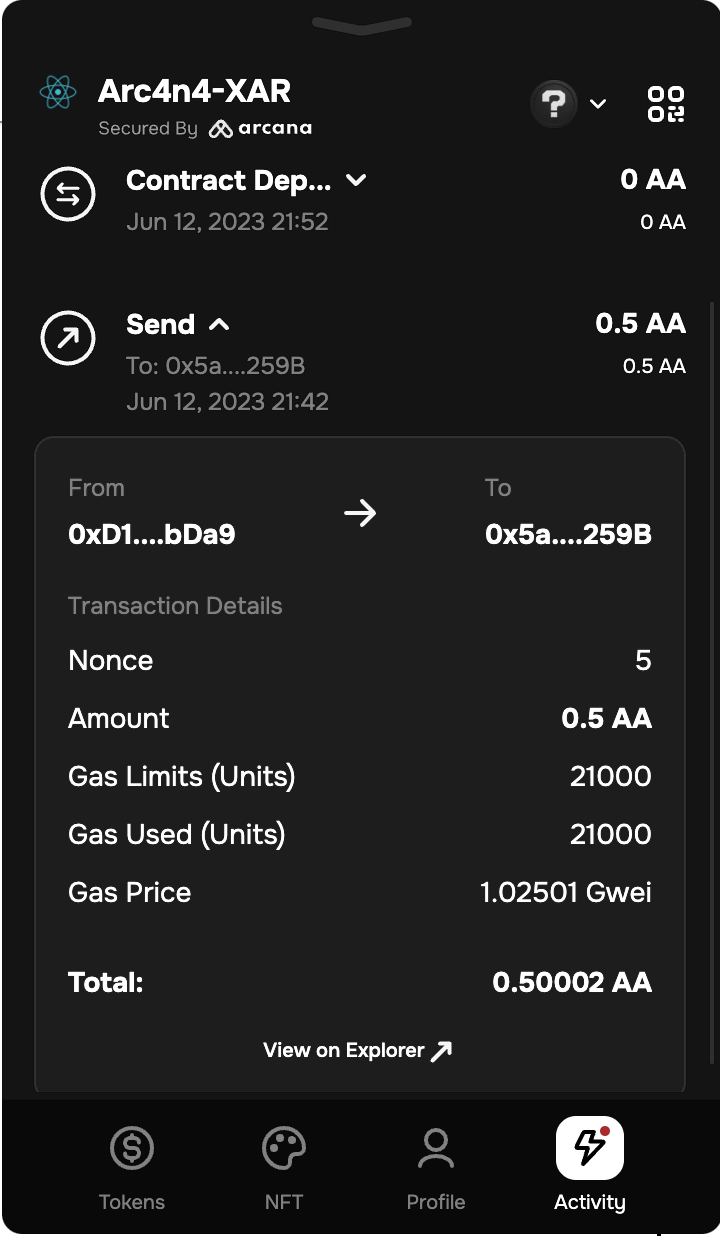
Custom Tokens
The app user must add the custom tokens manually to the Arcana wallet UI before the activity related to tokens can be viewed in the Activity tab.