Custom Wallet UI Setup
Estimated time to read: 2 minutes
Learn how to configure a custom wallet UI instead of the default, built-in wallet UI before using the Arcana Auth SDK to enable social login and allow authenticated users to sign blockchain transactions.
Prerequisites
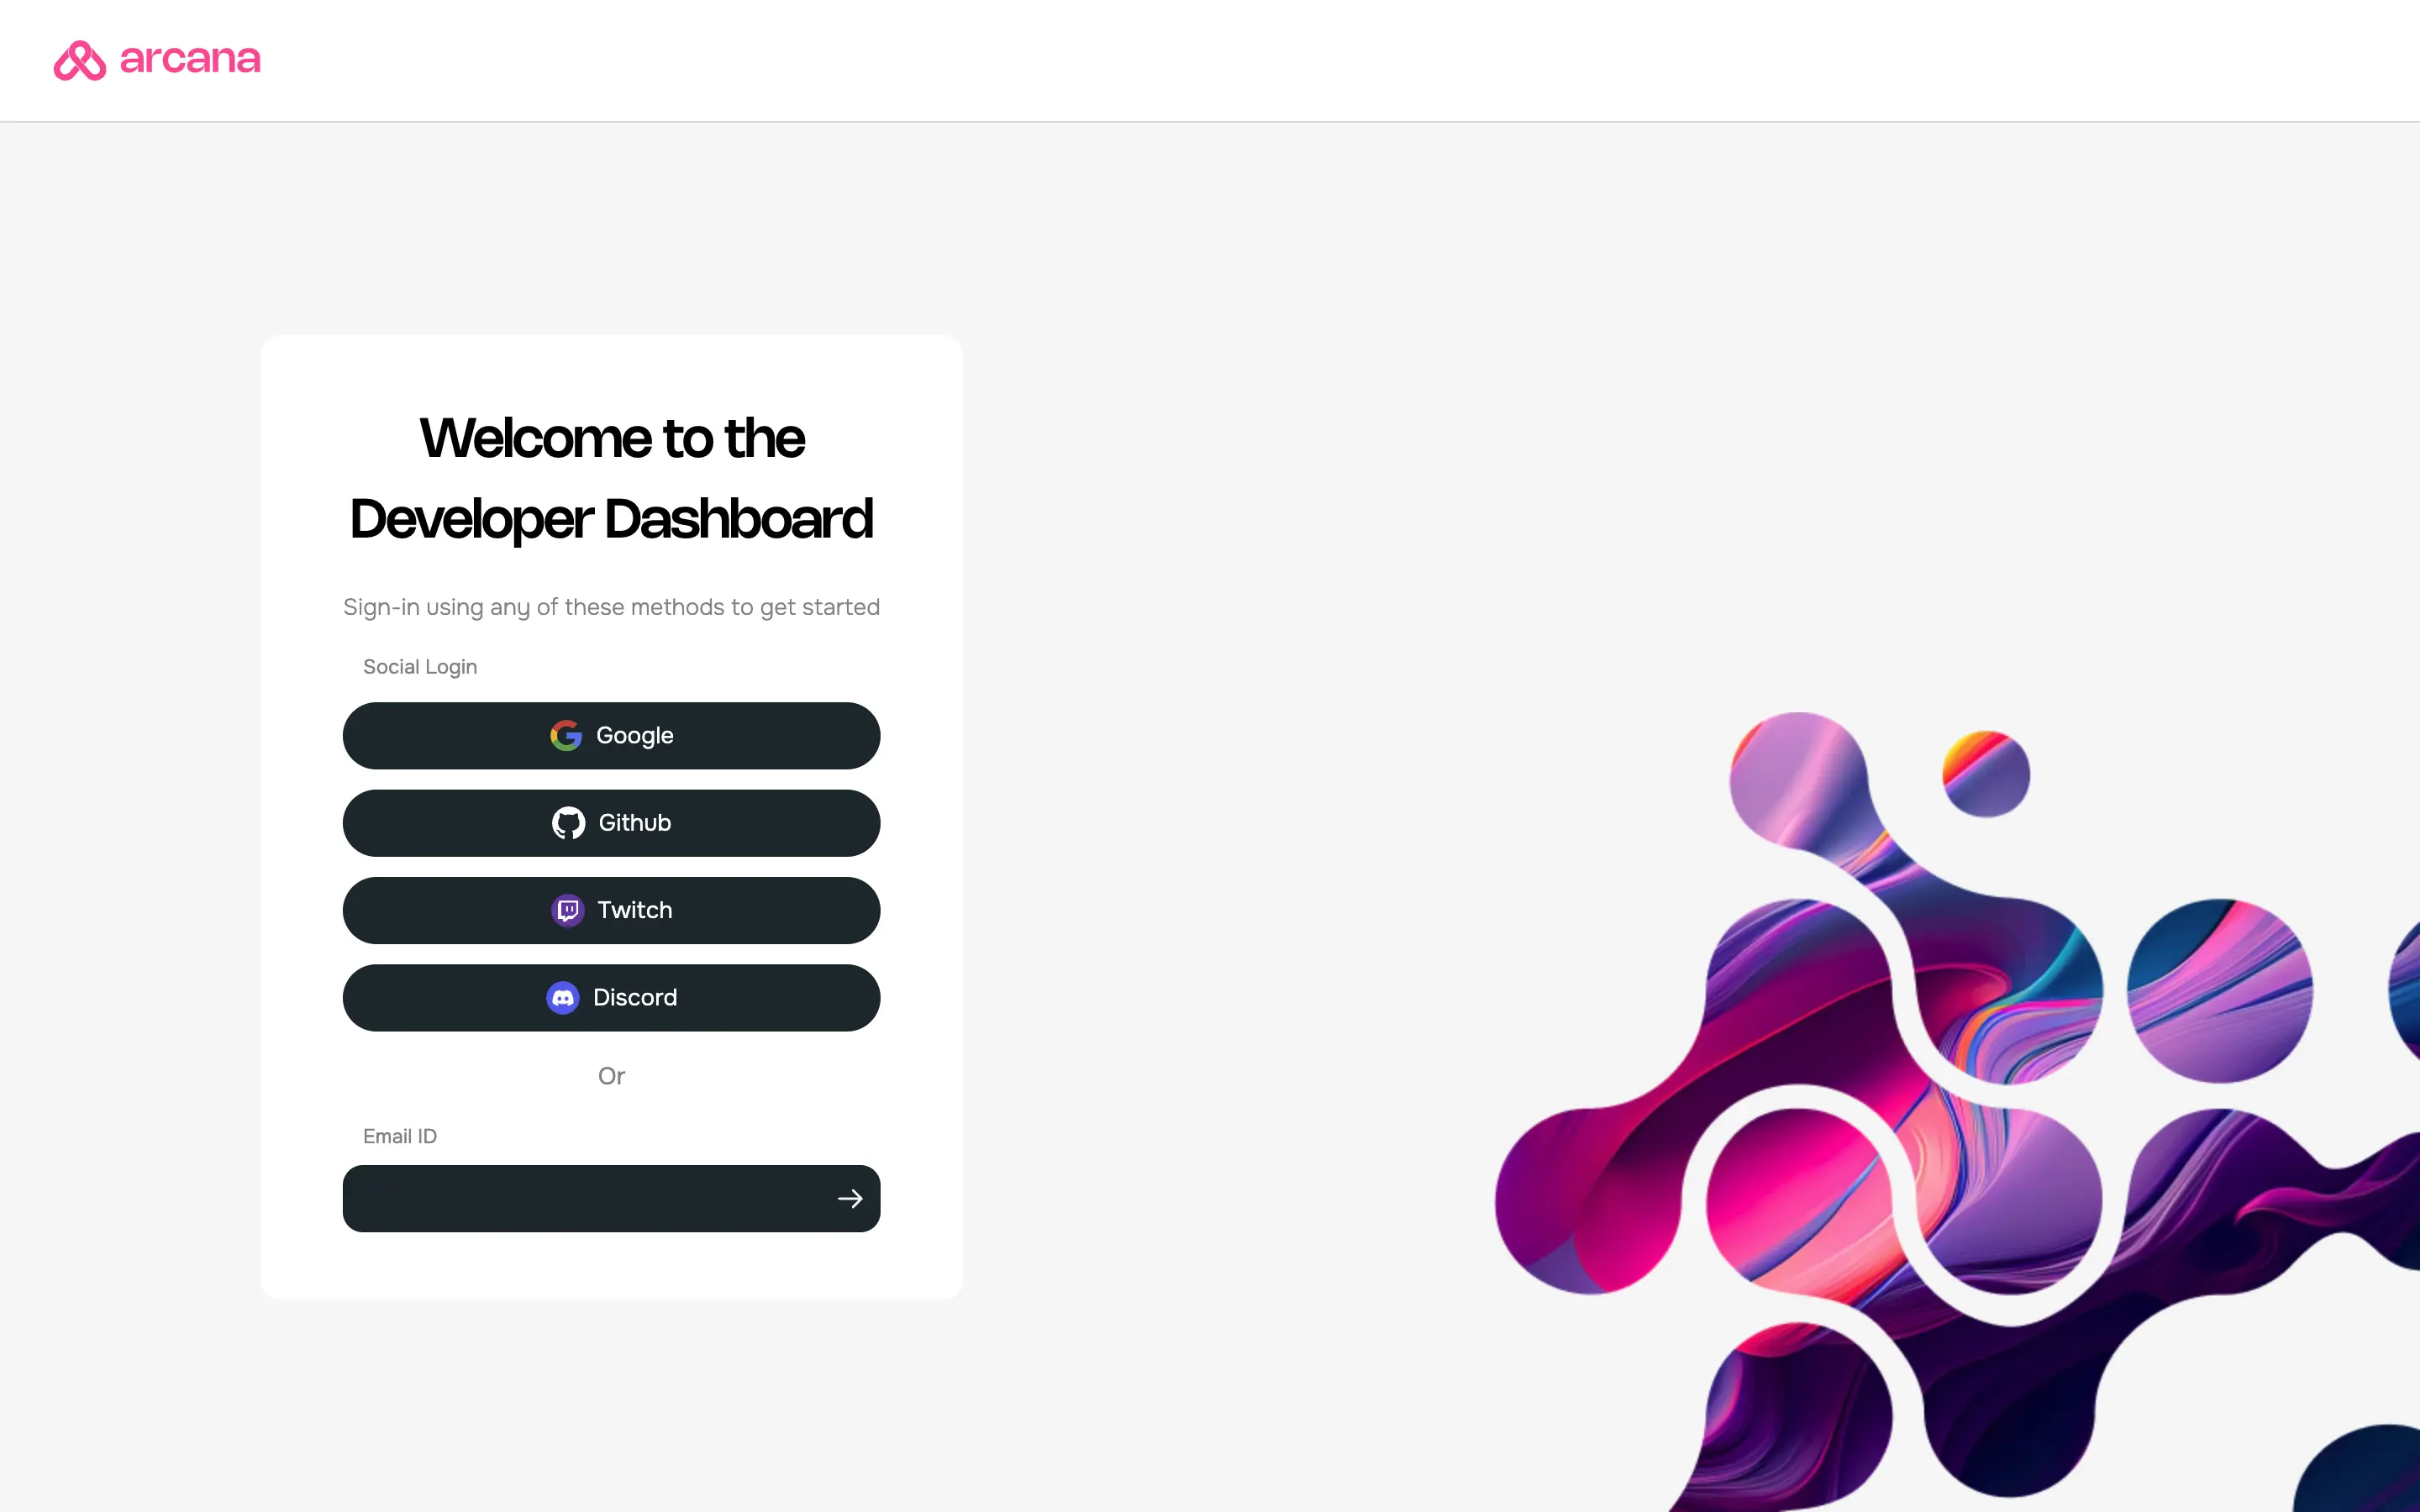
To log into the Arcana Developer Dashboard, you’ll need an account with a supported social login or use email for passwordless access.
- GitHub
- Twitch
- Discord
1. Dashboard Login
Use https://dashboard.arcana.network to log in with one of the available options.
Aggregate Login
The aggregate login feature in the Arcana Auth SDK merges login identities from social providers into one Arcana account if the email ID is the same across these providers. Developers can log into the Arcana Developer Dashboard using any supported provider and still access the same Arcana account and app settings.
2. Select Custom Wallet UI to Register
Use the dashboard to create a new app entry and register the app. While specifying the new app name and other details, specify the Wallet UI Mode setting as 'Custom UI'. By default, it is set to use the built-in, Arcana wallet UI. Then click the 'Create' button to confirm app registration. Once registered, you cannot change the Wallet UI Mode setting.
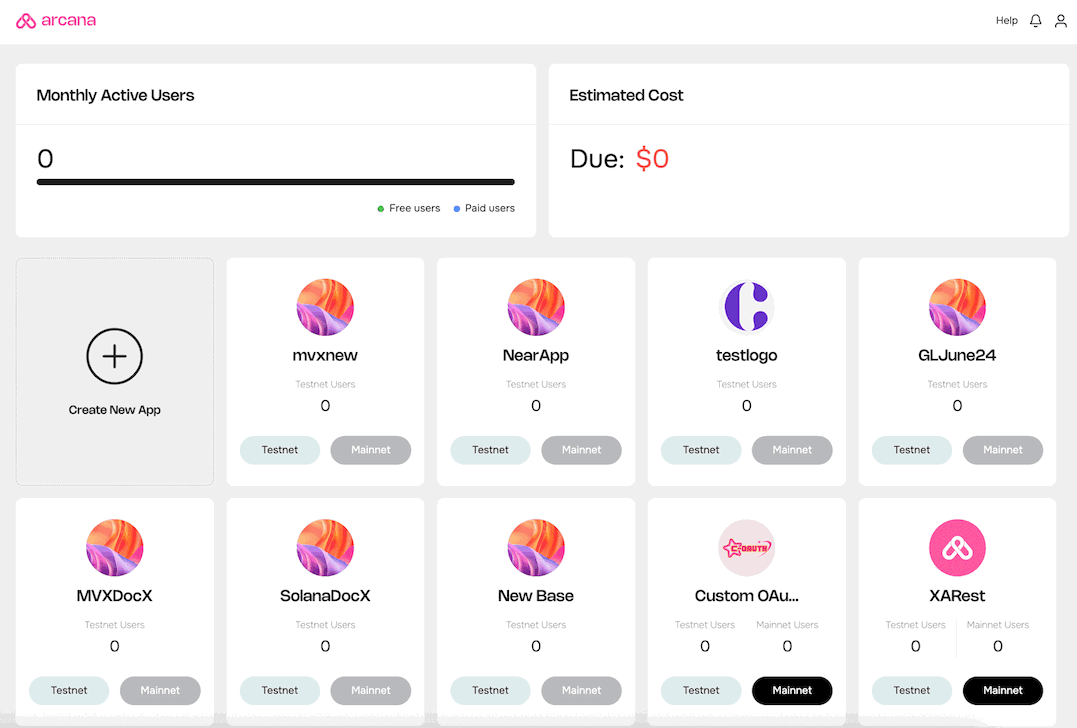
Click Create after specifying the custom wallet UI option to register the app.
What's Next?
Configure the app to enable social login providers, manage chains and wallet user experience for signing blockchain transactions. Integrate the app with the SDK and onboard users. Issue supported JSON/RPC and Web3 wallet operations in the authenticated user's context. Allow the users to sign blockchain transactions.